This is a sponsored conversation written by me on behalf of Cricut. The opinions and text are all mine.
It’s a simple, two-word phrase that has been whispered in your ear since you could walk … “Be kind.” And yet those two words have had new life breathed in to them with a #Kindness movement the last several years.
Take that gentle whisper reminder and turn it into a bold statement by making your own Be Kind T-shirt, an easy project for Cricut beginners!
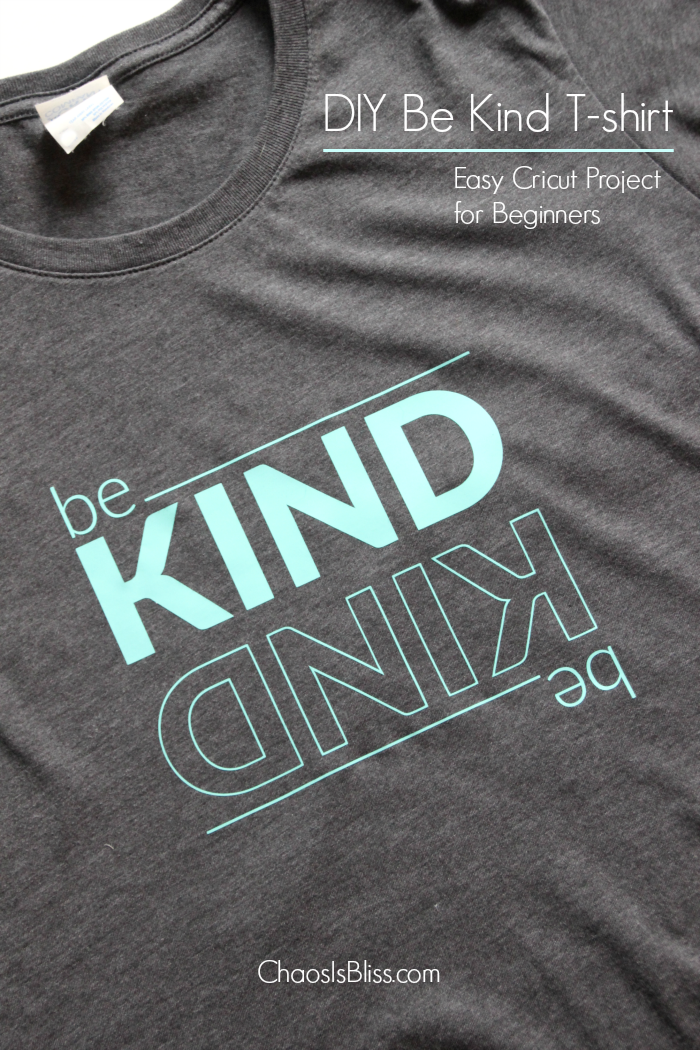
You will be seeing lots more easy Cricut crafts on Chaos Is Bliss, because I am so in love with my new Cricut Explore Air 2 and Cricut EasyPress!
If you’ve been around here a while, you know I love finding ways to spend less. You might think investing in a Cricut machine is costly, but I am envisioning so many beautiful, fun things I’ll create that will save me money over buying them in retail stores – and they won’t have that personalized touch.
When I published my first Cricut project since I began working with the company, I used my Explore Air 2 to cut cardstock paper into little colorful fall leaves for a Leaf and Branch vase. It will adorn my dining room table until the Christmas decorations come out (and the branches were from my backyard = free!).
Then I stepped up my skill level a bit for my second project with a personalized holiday pillow – I still can’t believe I made it myself, it’s so cute! And have you ever checked the price of a throw pillow in stores??? D-I-Y is where it’s at.
DIY Graphic Tee
Graphic tees are all the rage, and I’m often inspired walking through stores seeing such clever sayings on T-shirts.
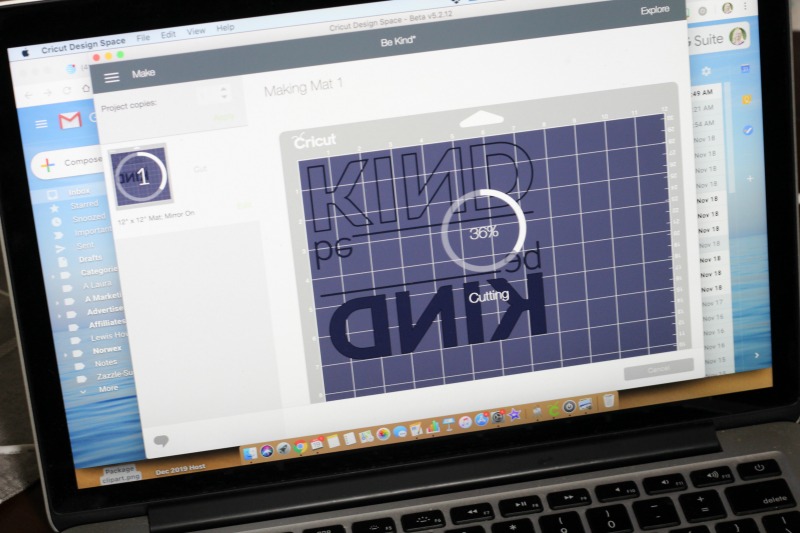
You have 100,000 images at your disposal with Cricut Access ($9.99/month), but also thousands for free! Find the perfect design and either tweak it a little, a lot, or not at all using Cricut’s intuitive Design Space app guiding you through every step.
And, hey! Choosing to make your own graphic tee ensures you won’t be showing up at book club twinning with your neighbor!
Iron-On Vinyl
Cricut has a jaw-dropping online store, and for new makers like me, it’s like being a kid in a candy store!
As I’ve had a chance to use a couple of different types of Cricut vinyl now, my favorite so far is the Everyday Iron-On. It comes in a slew of colors, and when using the Cricut EasyPress 2 (I used making my personalized pillow) it could not be easier to press on and peel away, leaving your text or image perfectly in place and intact.
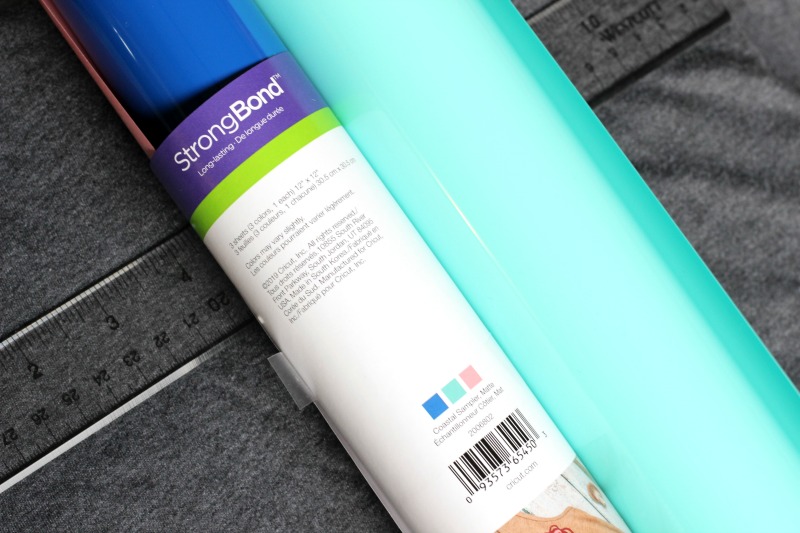
I chose the Everyday Iron-On Sampler in “Coastal” and this gorgeous bright teal color really pops on the dark gray T-shirt!
Be Kind T-shirt
After I found the Be Kind design on Cricut Design Space, I knew it would be a perfect message for a T-shirt graphic: simple, yet to-the-point.
It’s a reminder to myself as much as it is a message to others.
How to Use Cricut to Make a T-shirt
Here are the supplies you’ll need to make a T-shirt using Cricut – it’s such an easy project for Cricut beginners, I see many more in my future!
- T-shirt (You can buy white V-neck T-shirts at Cricut; I bought this charcoal, ring spun cotton tee and like that it’s slightly contoured for a lady’s fit, with a bit of stretchiness.)
- Everyday Iron-On Vinyl in the color(s) of your choice
- Weeding tool (or a Basic Tool Set perfect for beginners)
- Cricut Explore Air 2
- Cricut EasyPress 2
- Cricut EasyPress Mat (optional, may use a folded towel instead)
That’s it! No extra supplies are needed.
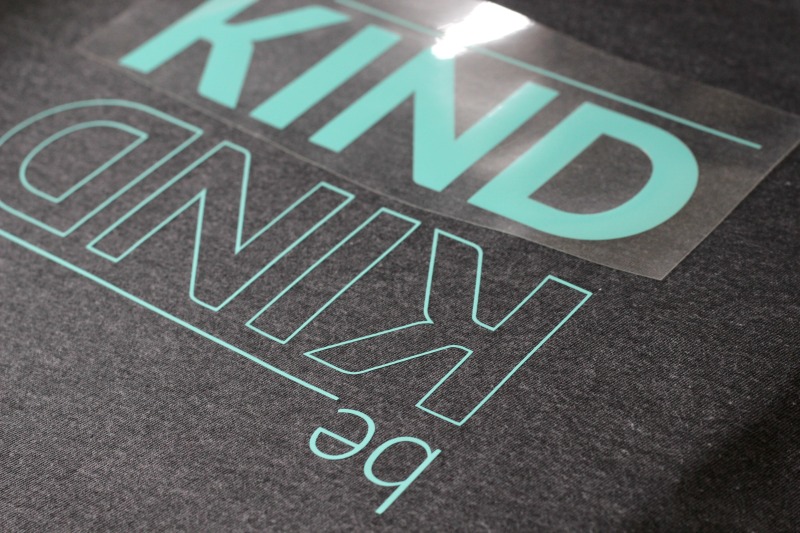
Here are the easy steps:
- Using Design Space, select your design and size it according to how large or small you want it for your T-shirt.
- Check the Cricut Heat Guide for the recommended temperature and time for EasyPress to do its job.
- Lay the T-shirt onto the mat and press for 5 seconds to remove any wrinkles.
- Line up the design where you wish it to adhere, place the EasyPress onto the design and start its built-in timer for 30 seconds.
- Release after the timer beeps, and flip the T-shirt over. Press for 15 seconds.
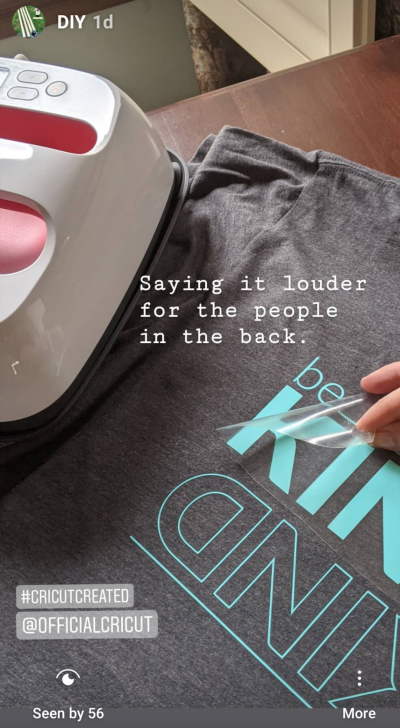
- Wait 30-60 seconds so the clear overlay isn’t hot to the touch, and do a “warm peel,” peeling slowly starting at one corner. If the design begins to come up, press with the EasyPress another few seconds and repeat step 6.
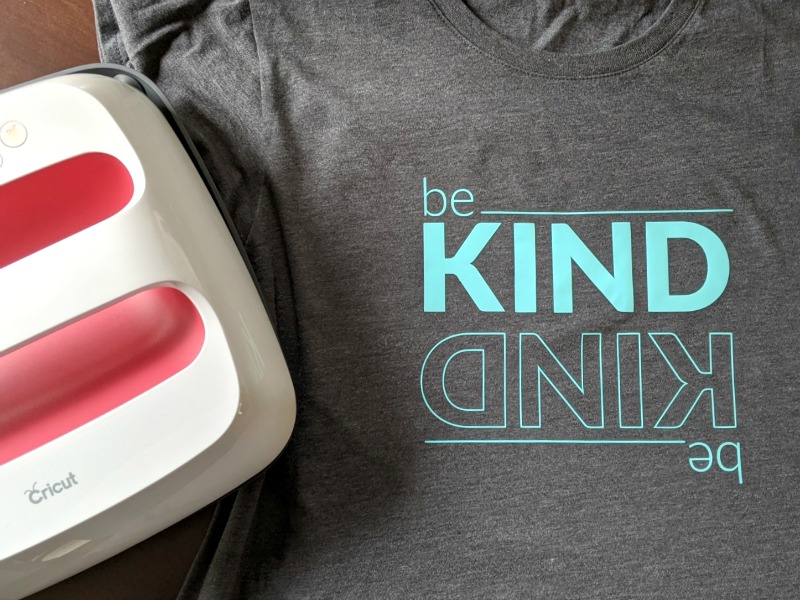
I can’t wait to hear what designs you come up with!
Learn more about the wonders you can create with Cricut, and be sure to check my Cricut for Beginners board for more great inspiration on easy projects for Cricut beginners!
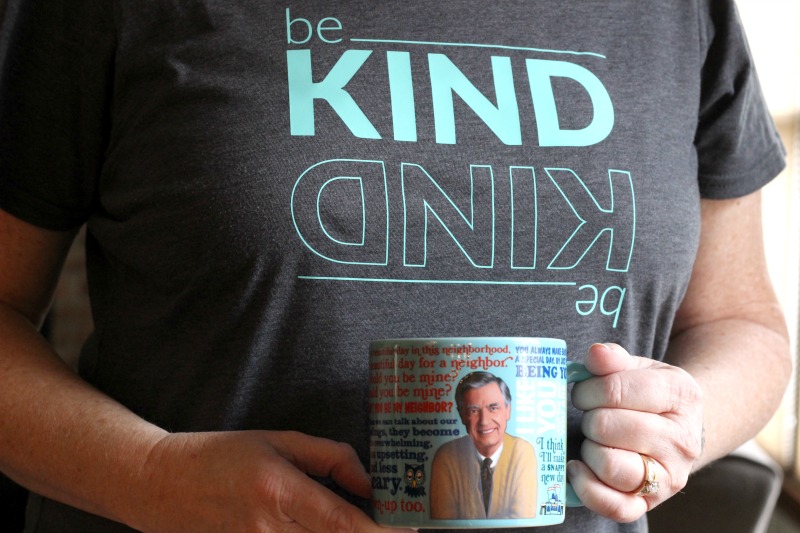
p.s. The Be Kind t-shirt goes really well with my Mister Rogers Sweater Changing Mug, doesn’t it?


 I love sharing ways to spend less, so families can do more! My passions are cooking, late night TV and being amused by my witty husband and three kids.
Leave a Reply