This is a sponsored conversation written by me on behalf of Cricut. The opinions and text are all mine.
Creating your own unique holiday decor is made easy with this DIY personalized holiday throw pillow design, and the Cricut EasyPress 2!
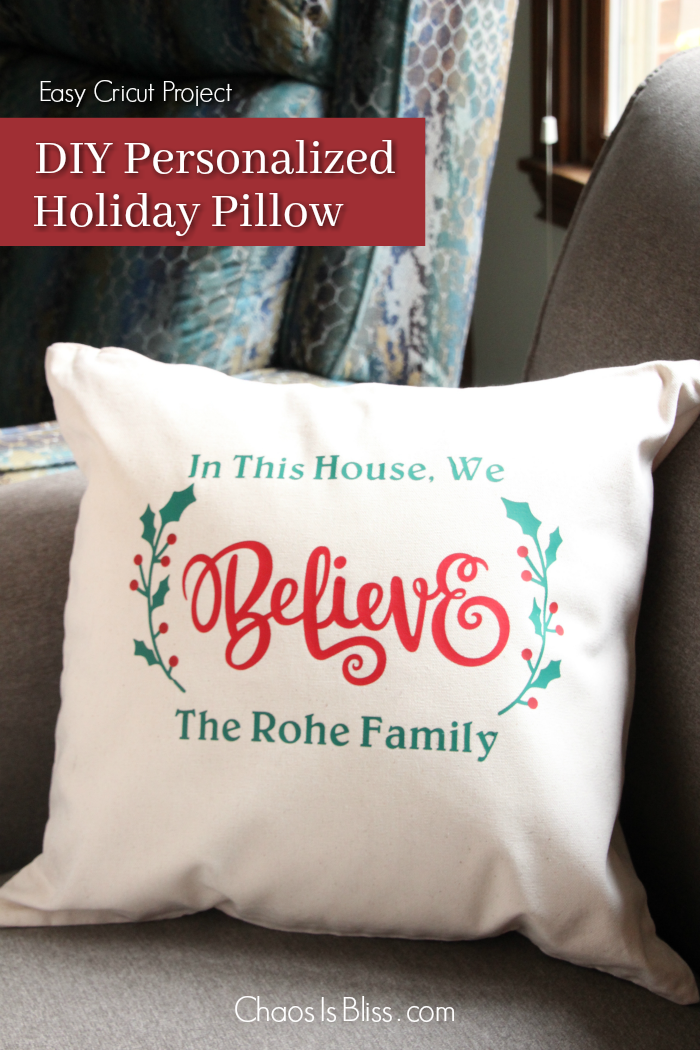
After being “baptized” in the Cricut world creating my first easy Cricut project for beginners which cut paper, I was ready to try my hand at vinyl cutting using iron-on vinyl.
First, I turned to the thousands of images and designs on the Cricut Design Space app. You have unlimited use of thousands of images, fonts and projects with a Cricut Access Membership.
DIY Personalized Holiday Pillow
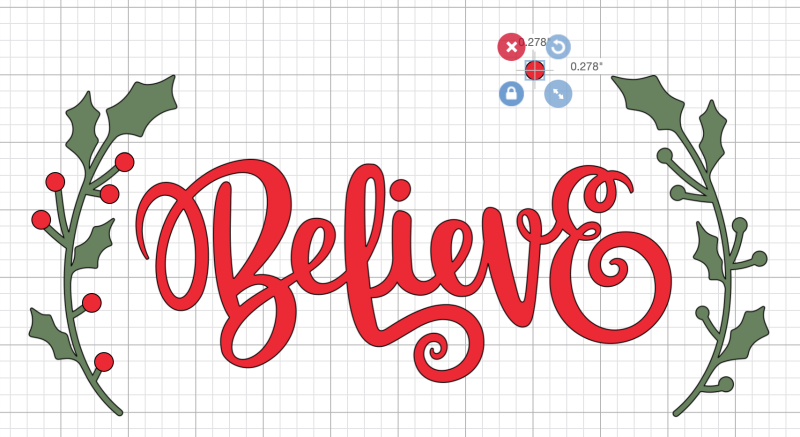
For my design, I searched “holiday” and “Christmas” images, and was immediately drawn to the scripty word “Believe”.
The word alone was beautiful, but I wanted MORE.
Next, I added a couple of sprigs of holly and berries. You’ll see in the progression below, how the sprigs started out as all-green, but I wanted MORE. So I added red circles, sized them down into berries and dragged over to on top of the green berries.
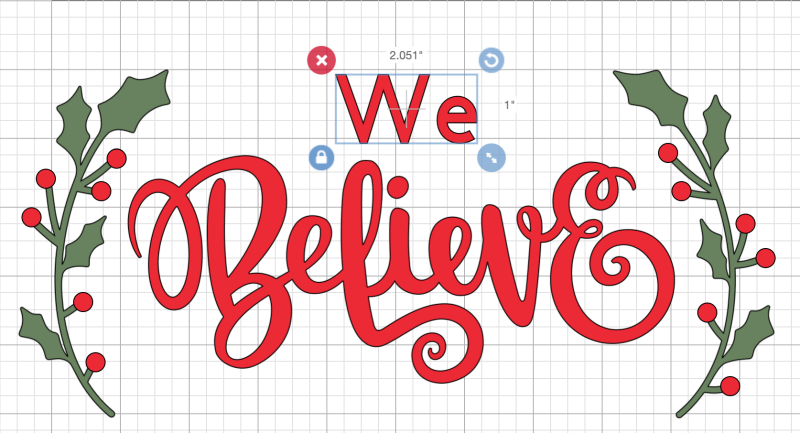
Next, I played around with text, admittedly because I wanted to add more height to the design as the pillow cover I was using is square.
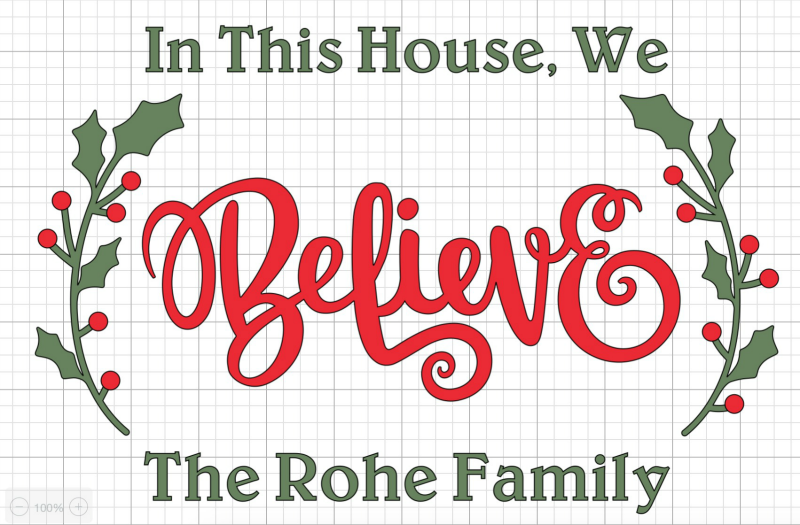
This is the final design I ended up with!
Keep in mind if you’re new to Cricut and Design Space: Where you position elements of your design, in the long run, doesn’t really matter. When it’s time to tell your Cricut to cut, it will group all like-color items together and smoosh them to the top of the vinyl to have as little waste as possible. Once you’re ready to cut, the app will show you a different mat for each color grouping.
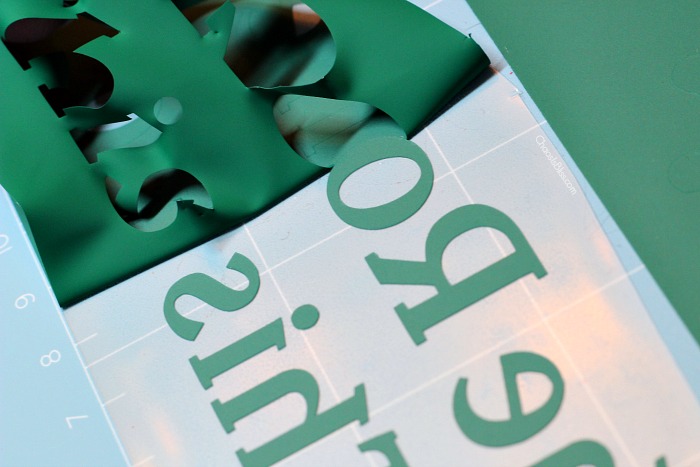
You’ll see in a photo a bit later that when using text especially, it’s important to toggle the “Mirror image” bar to “On”, so it cuts a mirror image of your text. When you go to lay it on your pillow cover (or whatever base item you’re using), it will be facing the correct way.
Let’s cut!
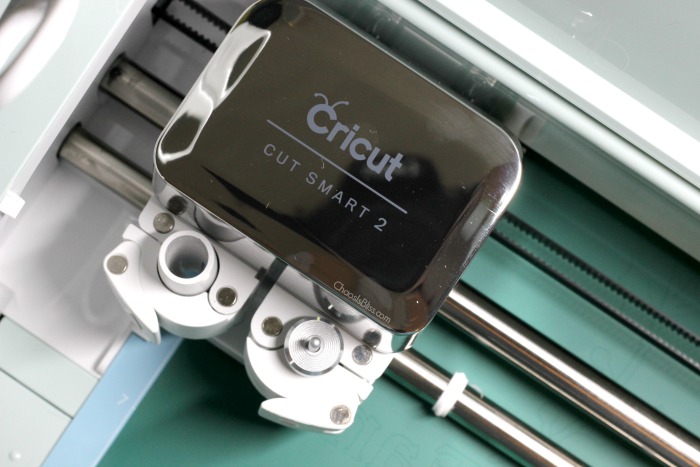 Now here’s the fun part (which may not be fun for some people, but I enjoyed it!). You’ll want great lighting, and possibly a pair of reading glasses!
“Weeding” is the funny name for the process of removing any negative (non-usable) vinyl. It’s the semi-circle in the letter “e” and the two circles in a capital “B”, and so on. And, it’s the remaining vinyl directly surrounding your images or words.
Cricut offers a weeding tool, but I purchased this set which included a weeder, tweezers, fabric shears, a scraper and spatula.
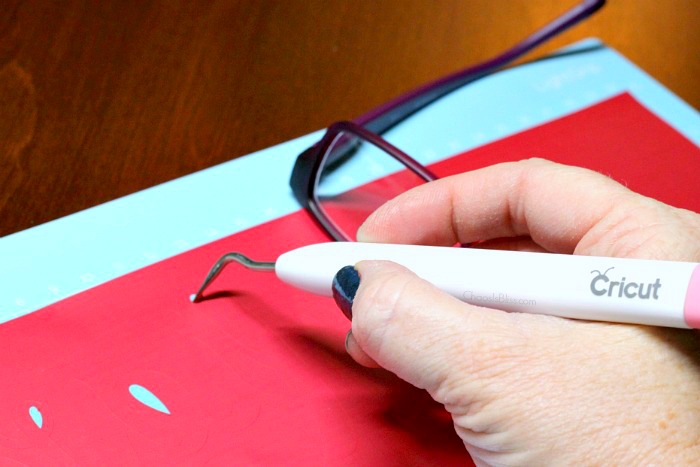
Once I weeded inside the letters, I slowly pulled the remaining vinyl away at an angle.
You can also see here how the text is a mirrored.
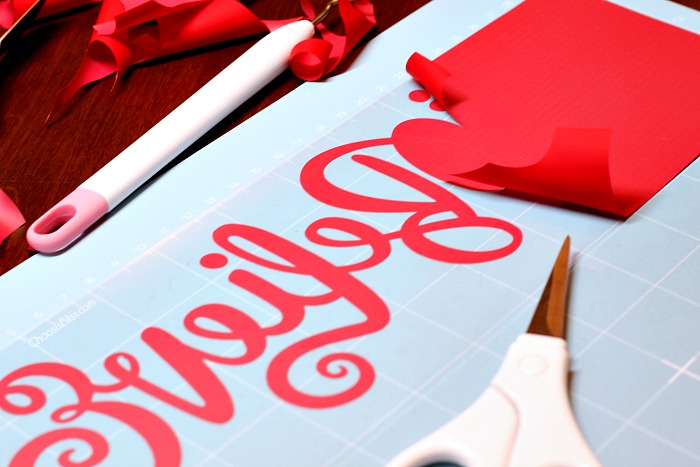
Then it was time to weed the green text.
Why do you need an EasyPress 2?
You can use an iron instead of an EasyPress 2, but this image brilliantly shows the glaring difference between the two:
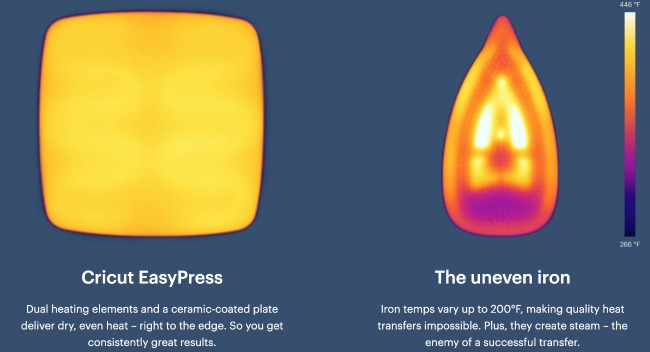
The EasyPress 2 is just that … easy.
Additionally, Cricut’s interactive Heat Guide. tells you how long you should press your vinyl onto the surface you’re working with, and for how long.
First, choose which Cricut EasyPress you’re using, the heat transfer material as well as the base material, and whether you’re using a Cricut EasyPress Mat or a towel under your project.
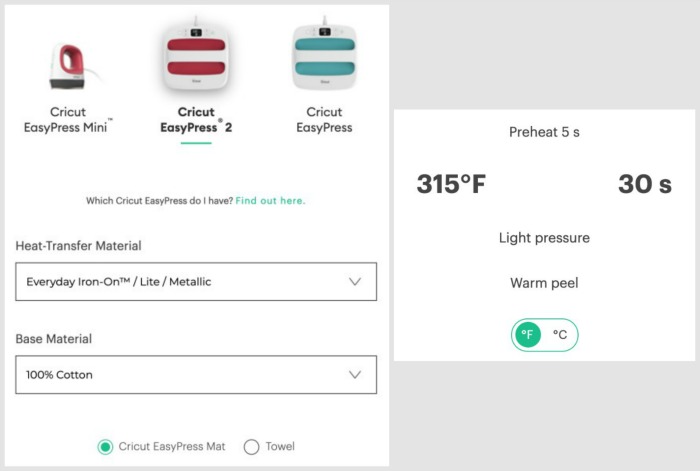
The Heat Guide then tells you:
- The ideal temperature,
- Length of time for a press,
- Pressure, and
- Warm or cool peel.
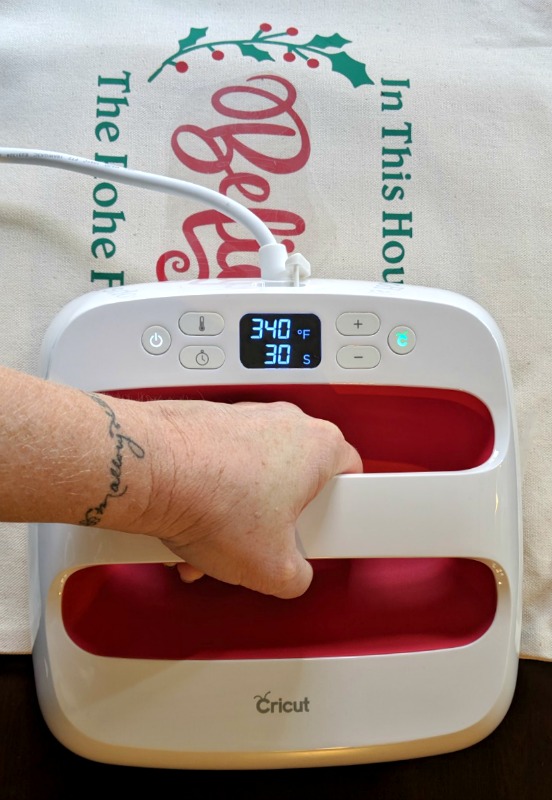
The Heat Guide recommended 340° for 30 seconds per press (only 15 seconds is needed when you flip your design face-down for a back-side press). Simply adjust the temperature and time buttons accordingly.
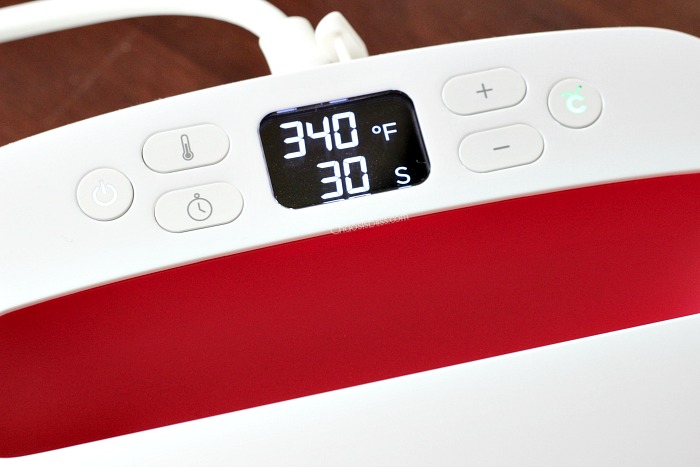
Next it was time to lay everything out and check spacing.
I laid the pillow cover on top of the EasyPress Mat, which provides an even, firm but padded surface from which to press.
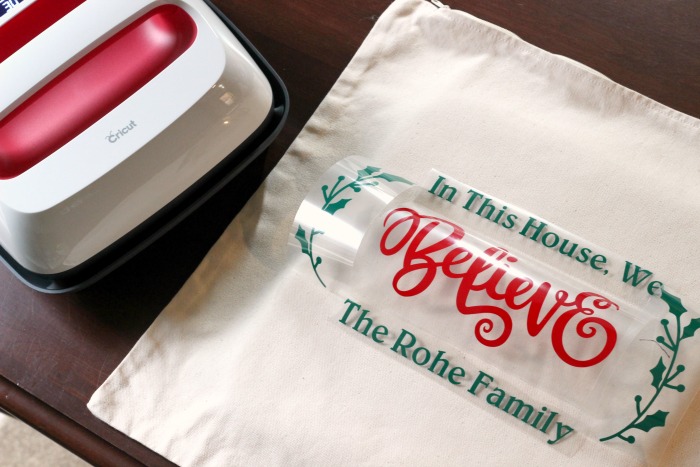
Then, presto, I began pressing! Again, based on the suggestions from the Heat Guide, I knew I was doing a warm press. This means once you press for 30 seconds, flip to back side and press another 15, you wait a few seconds for the clear top layer to be warm – not hot – and slowly peel.
My mistake which led to the bottom of the first word “In” below being slightly garbled, is that I peeled too quickly. Don’t be like me. If the clear top layer is hot to the touch, wait a few more seconds to start your warm peel.
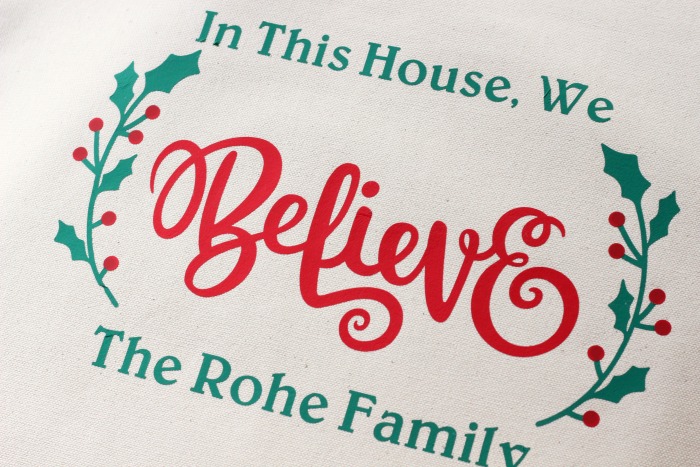
I couldn’t be happier with the way this DIY personalized holiday pillow turned out! I hope this Cricut EasyPress 2 project provided easy steps for beginners (like me!) to learn how to use an EasyPress 2 for something simple like a throw pillow.
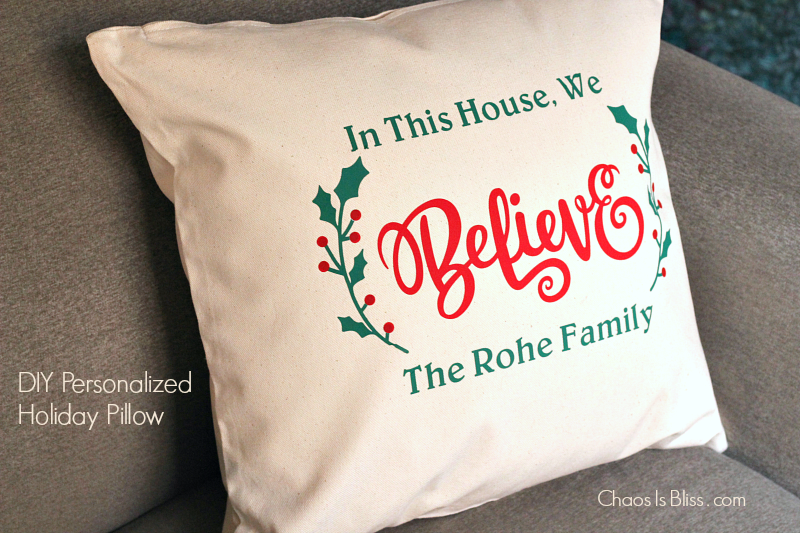
Learn more amazing tools, applications and inspiration from Cricut, and be sure to pin this to your DIY board!


 I love sharing ways to spend less, so families can do more! My passions are cooking, late night TV and being amused by my witty husband and three kids.
What a beautiful design!! Love how it turned out!
Thank you so much! It looks perfect now that my Christmas decorations are up.
Cute and love the saying 🙂
Aww thank you!