This is a sponsored post written by me on behalf of Cricut. All opinions are 100% mine.
Organizing a medicine cabinet is one of those mindless tasks that seems to slip down the to-do list. Cricut Joy can make organizing easy and fun, and I’ve got 5 ways to get your home organized with Cricut Joy!
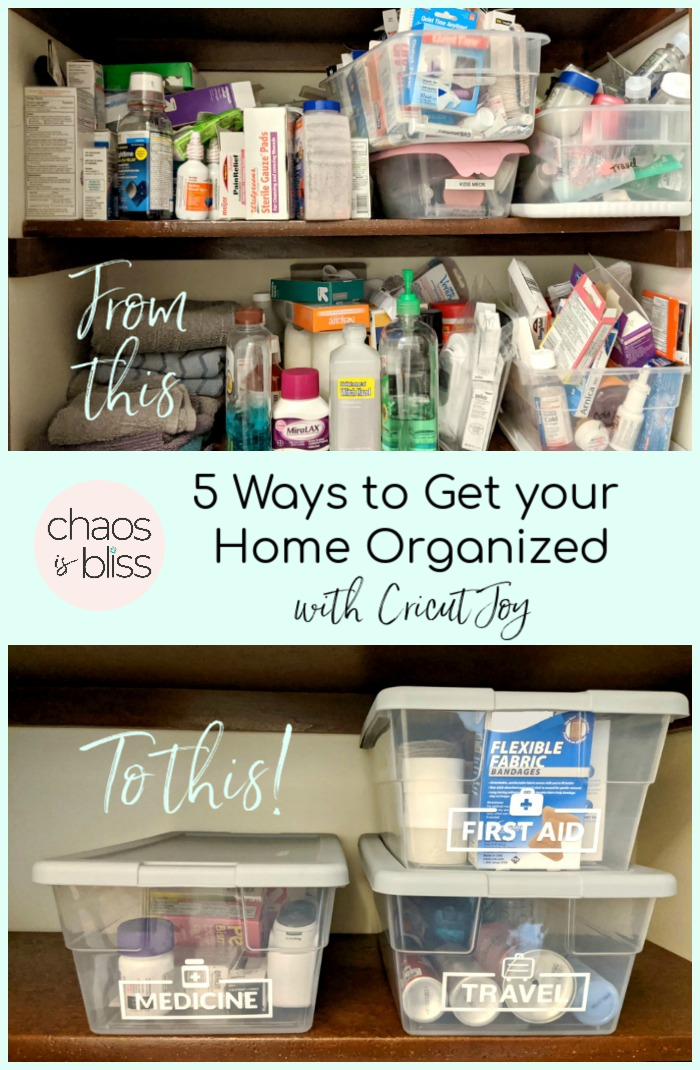
The clutter and disorganization of a medicine cabinet only seems to be bothersome when you’re trying to find a particular cure for an ailment, bandage or travel-size toothpaste.
So when I was invited to explore the capabilities of the new Cricut Joy in organizing a home, it seemed like the perfect excuse to declutter the medicine cabinet of expired or unused medicines, plus organize what will be kept into labeled, easy-to-locate containers.
In addition to organizing a medicine cabinet, here are four more ways to use the small-but-mighty Cricut Joy to organize your home:
- Kitchen spices & seasonings
- Garage tools, nails & screws
- Makeup & hair accessories
- Home office supplies
Organizing a medicine cabinet
We use the term “medicine cabinet” very loosely in our family. It’s basically a linen closet with two shelves full of over-the-counter medicines, First Aid treatments, travel-size necessities … as well as, I discovered, candles and extra new shoelaces (you know, just in case?!). Yes, it’s become quite the hodge-podge of things we don’t know where else to store.
Step 1: Everything out
Before you can begin to organize any space, you have to physically remove the contents and get a “lay of the land”, so to speak. Our two-shelf medicine cabinet filled a 66-quart tote bin.

Step 2: Reduce, reuse, recycle
When considering discarding the contents of a medicine cabinet, you should know how to dispose of medicines safely. It’s good practice to not flush pills or pour liquid medicines down the drain. You can check with your local hazardous material waste department to learn if it’s better to throw medicines in the trash or bring them to a facility that disposes of them safely.
Most containers and packaging, when empty, should be recyclable; but “when in doubt, throw it out” is what I practice when I’m unsure if something is recyclable or not.
Step 3: Categorize
Our medicine cabinet holds not only medicines, but First Aid supplies, travel size necessities and a myriad of other household items. One tip I learned from a professional organizer years ago is this: If this will not be an item’s permanent home, then it does not belong. This was helpful in sorting through what will remain on our shelves, and what should be moved to a different spot around the house.
After assessing our inventory, I decided on these primary categories:
- First Aid
- Medicine
- Travel
I picked up an inexpensive 5-pack of clear, lidded bins at Target. (Definitely get lids when you’re organizing a medicine cabinet, as that will allow you to easily stack, remove and put back as needed).
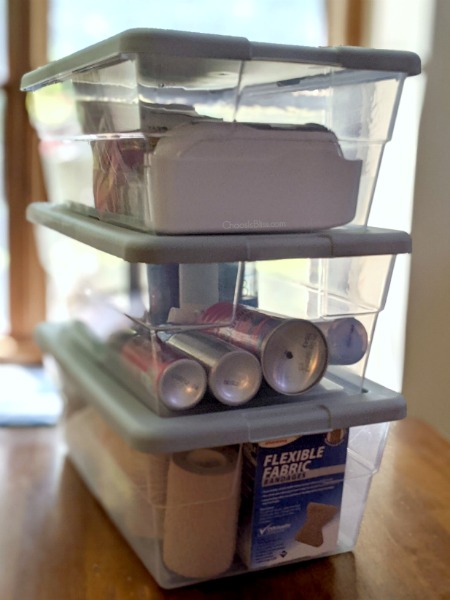
After a lot of purging and combining packages, I got almost everything into just those three bins. Now, it was time to label … this is the fun part!
Cricut Joy
Cricut Joy is the perfect companion to quickly and easily label items with one cut and one color, in as little as 15 minutes or less! If you already have a Maker or Air 2, just know that you have so many additional creative possibilities by adding a Cricut Joy into your craft-cutting mix.
Features of the Cricut Joy:
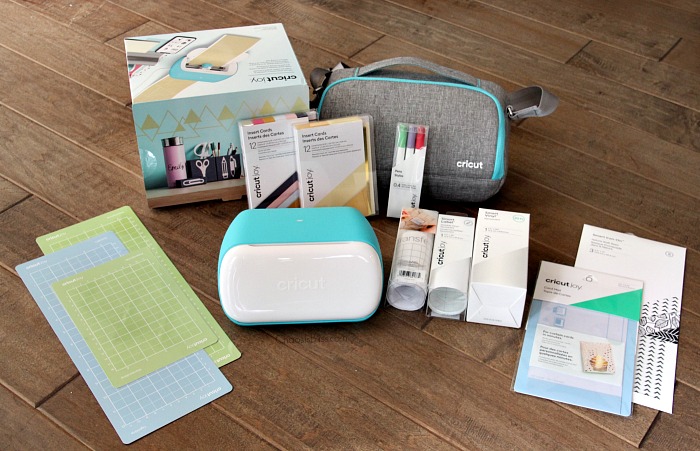
- Size & portability: Cricut Joy is Cricut’s smallest smart cutting machine ever! It fits in just about any space, and the sleek design would even look great sitting on a desk or counter. It packs away easily (and you can tote it in this as well!) and its small size makes it easy to use anywhere – no craft room needed.
- Mats optional: Cricut Joy has a full suite of brand new materials that don’t require a mat. This means less supplies to purchase, fewer steps and faster results! Cricut’s new “smart vinyl” comes in extended sizes, with up to 20 feet of repeated cut capability, and no need to switch out multiple mats.
- Bluetooth enabled: While there is a power cord, there is no need to plug Cricut Joy into your laptop thanks to it being Bluetooth-enabled. Watch this unboxing to see how easy it was for me to get started cutting with my Cricut Joy:
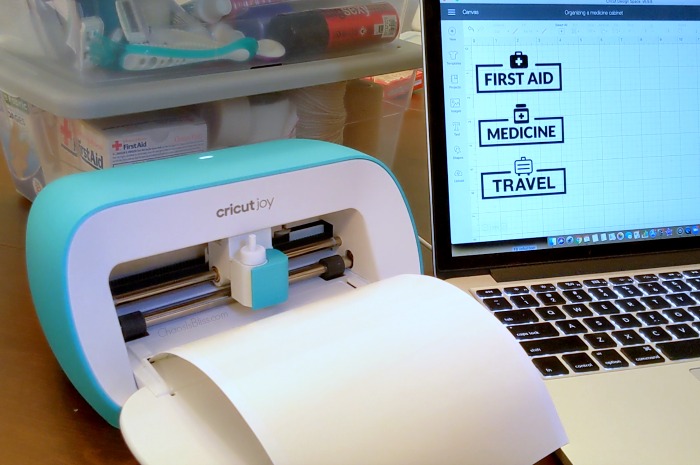
Making labels with Cricut Joy
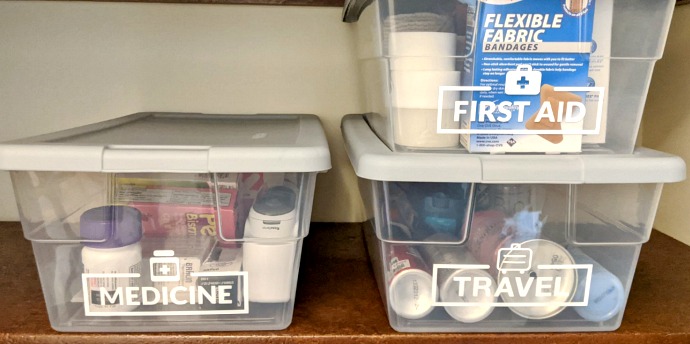
After the ease of Cricut Joy setup, I headed into Design Space to create my medicine cabinet labels. It was super easy because with a quick search of “medicine” I found the perfect image to use as a label. Even better, there was a near identical one for “First Aid”. All that was left was to create something similar for travel supplies.
Watch how I duplicated an already created image, then tweaked to fit what I needed (you can find the file here):
After sending the file to be cut on my Cricut Joy from Design Space, I then used Cricut Joy Transfer Tape to apply the labels to my new bins.
I am really pleased with the results! Not only have I cleared out and organized my medicine cabinet, but it’s easy for my husband and kids to know where to find (and more importantly, where to return) items when needed.
Even though I already have an Explore Air 2, and I still consider myself a beginner with Cricut, I’m so glad I now have the Cricut Joy. I’ll be using it often for quick, small projects, and also when I head to a friend’s house for crafting – there’s never a shortage of craft projects when you’re a color guard mom!
Take a look at all of the fun things you can create with Cricut Joy – even unique and stunning greeting cards with Cricut Joy’s exclusive blank insert card sets! Visit Cricut.com to learn more, and make your purchase online or in-store.


 I love sharing ways to spend less, so families can do more! My passions are cooking, late night TV and being amused by my witty husband and three kids.
Leave a Reply